 To begin, be sure to consult your manual for the proper fastener torque settings. Next, turn the suspension frame upside down and attach the lower fulcrum pins to the bottom of the suspension frame. Install the new polyurethane bushings and A-arms on the ends of the fulcrum pins and fix castle nuts with cotter pins as required. Locate the coil spring pan between the A-arms but do not tighten. Remember to use new lock washers and nyl
 oc nuts. Now, install the sway-bar link in the larger hole in the front of the A-arm assembly.
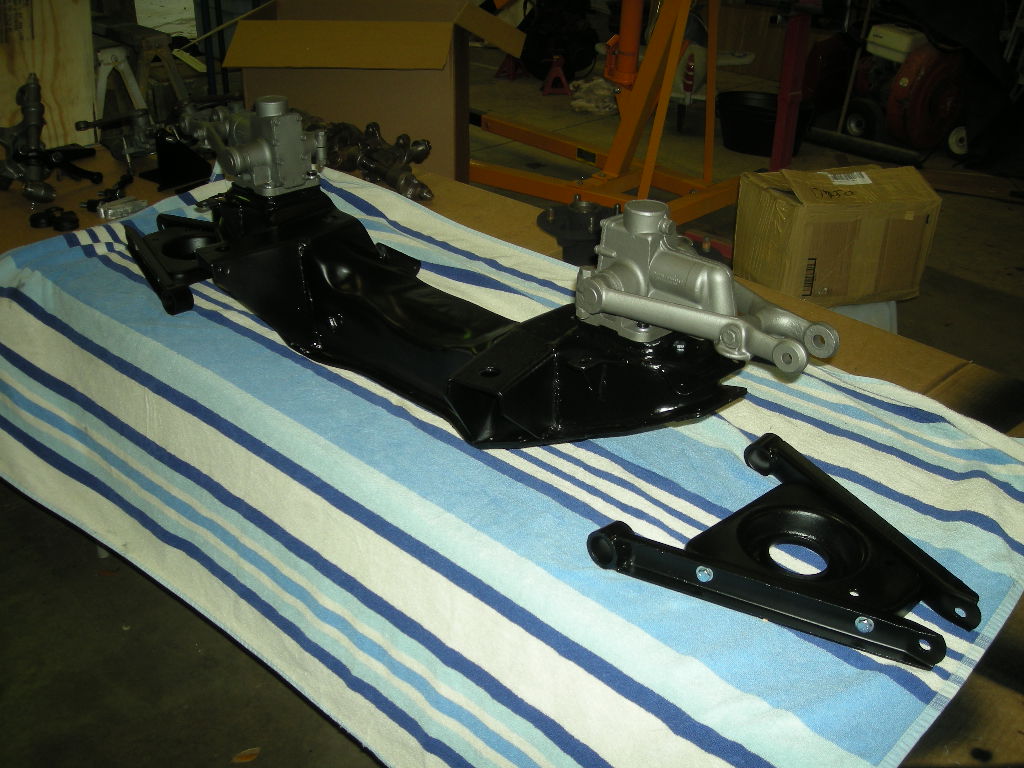
Now, following the installation of the new lower kingpin bushings and seals, attach the swivel axle assemblies to the A-arms and torque all the fasteners. Next, install the steering arms to the swivel axle assemblies (note: steering arms are different; radius between mounting bolt holes should point upward). Torque bolts properly. Turn the suspension frame right-side-up and attach the shock absorbers to the mounting plates and torque properly. The coil springs cannot be attached until the front suspension is installed on the car, so install the new polyurethane bushings in the top
 of the kingpin and slide the shock absorber/kingpin bolt in place. Do not tighten this bolt, it will need to be removed when the coil springs are installed.
Next post will address the installation of the wheel bearings, brake rotors and calipers.
Later,
TD